A well-designed brochure or flyer helps your promotion look polished right from the start. Good design also means setting up your layouts and design files correctly for printing. Paying attention to details such as margins, bleed, colors, and layout can significantly improve the result. This guide will walk you through the basics of getting your promotional materials ready for print.
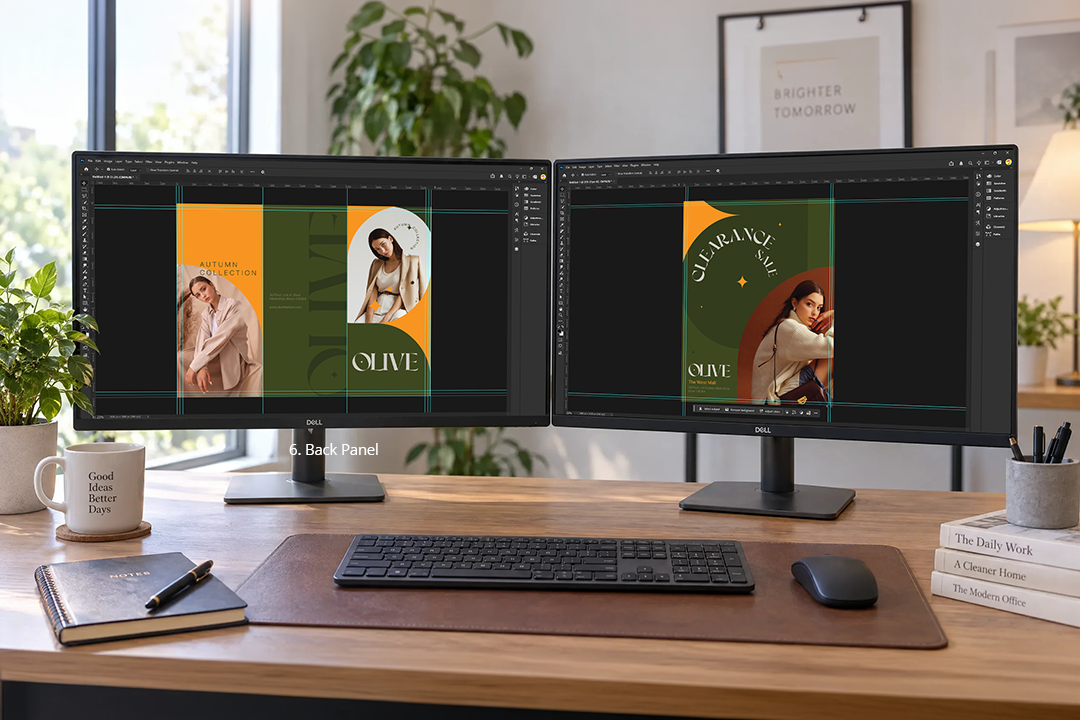
Dual monitor workspace displaying tri-fold brochure and flyer print design templates
Set Up Your Margins and Guidelines
Margins and guidelines are important features in most brochure and flyer templates. Printer templates usually come with bleed, trim lines, and safe zones, which make it easier to move your design from the screen to print. Understanding how each part works will help you place your artwork correctly and make sure your finished brochures and flyers look clean, balanced, and ready to print.
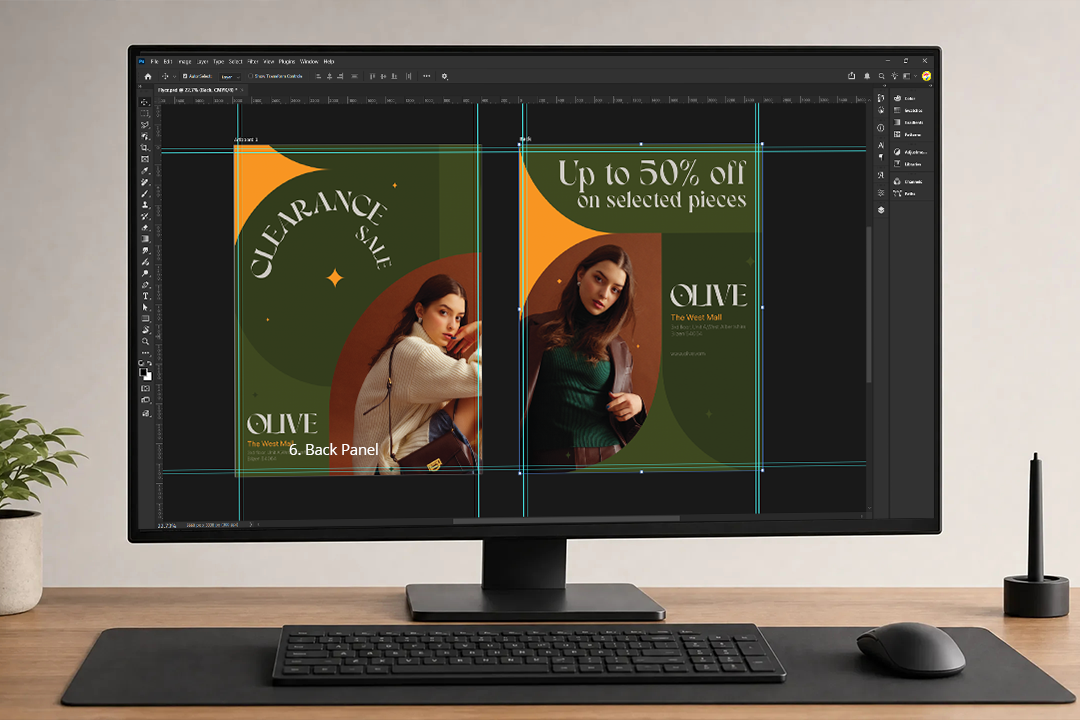
Flyer design template on a computer screen showing bleed, trim, and margin guidelines
Margins and guidelines are important features in most brochure and flyer templates. Printer templates usually come with bleed, trim lines, and safe zones, which make it easier to move your design from the screen to print. Understanding how each part works will help you place your artwork correctly and make sure your finished brochures and flyers look clean, balanced, and ready to print.
- Bleed: When you set up your files, extend the background and images 0.125” past the final edge. Bleed lines and areas help avoid unwanted white borders after trimming.
- Trim lines: These show where the printed piece will be cut to its final size. Most templates also have crop marks at the corners to make trim lines easier to see, which helps with clean cutting.
- Safe zones: Keep important text, logos, and images inside the safe zone, at least 0.125” from the trim lines. This way, nothing important gets cut off in the final print.
- Fold lines: These are important for brochures because they show where panels will be scored and folded. Like with trim lines and safe zones, keep important elements away from fold lines and arrange your content to fit each panel.
Designing Front and Back Flyers and Brochure Panels
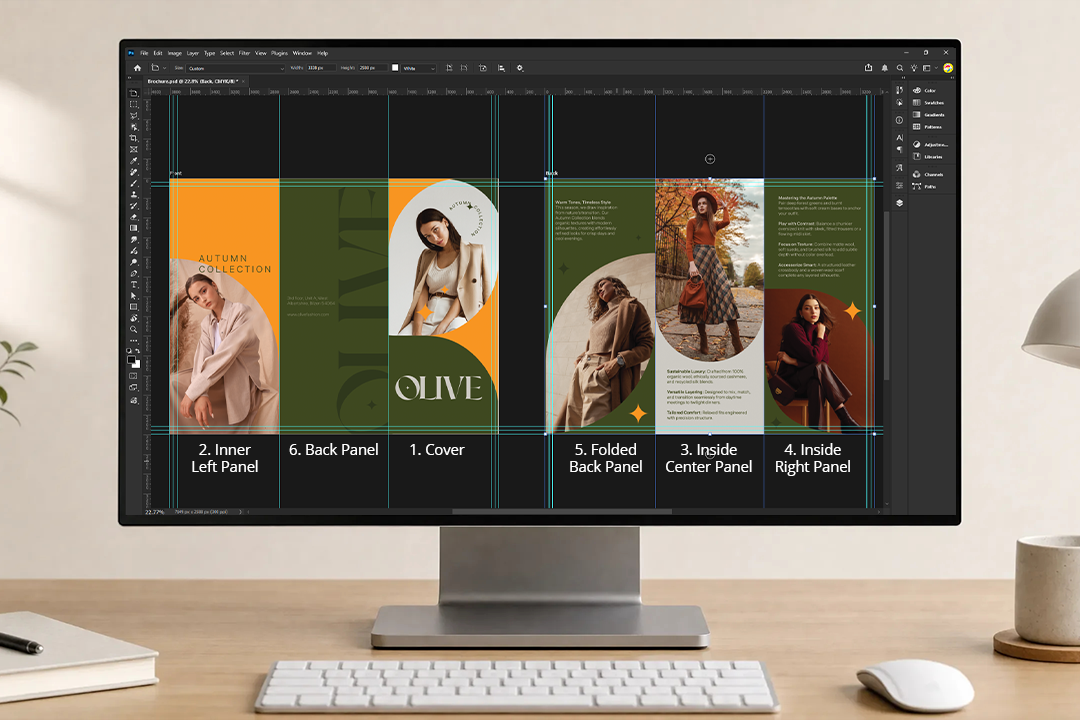
Digital tri-fold brochure setup showing bleed lines, fold lines, and labeled panels
Once your print guides are set, you can organize your text and visuals, so readers can easily follow the information you provide.
When designing flyers, use a simple layout and make sure your main promotion and headline stand out the most. For double-sided flyers, put the headlines, main visuals, and promotional messages on the front. Use the back for extra details, more information, and your contact info.
For brochures, arrange your content to match the order of the folds and panels. Put your main message, branding, and image on the front cover. Spread supporting information across the inside panels, telling your story so readers see the most important parts first. Use the outside panels for FAQs or extra details, and put your contact information, address, and QR codes on the back.
Polish Your Brochure and Flyer Design
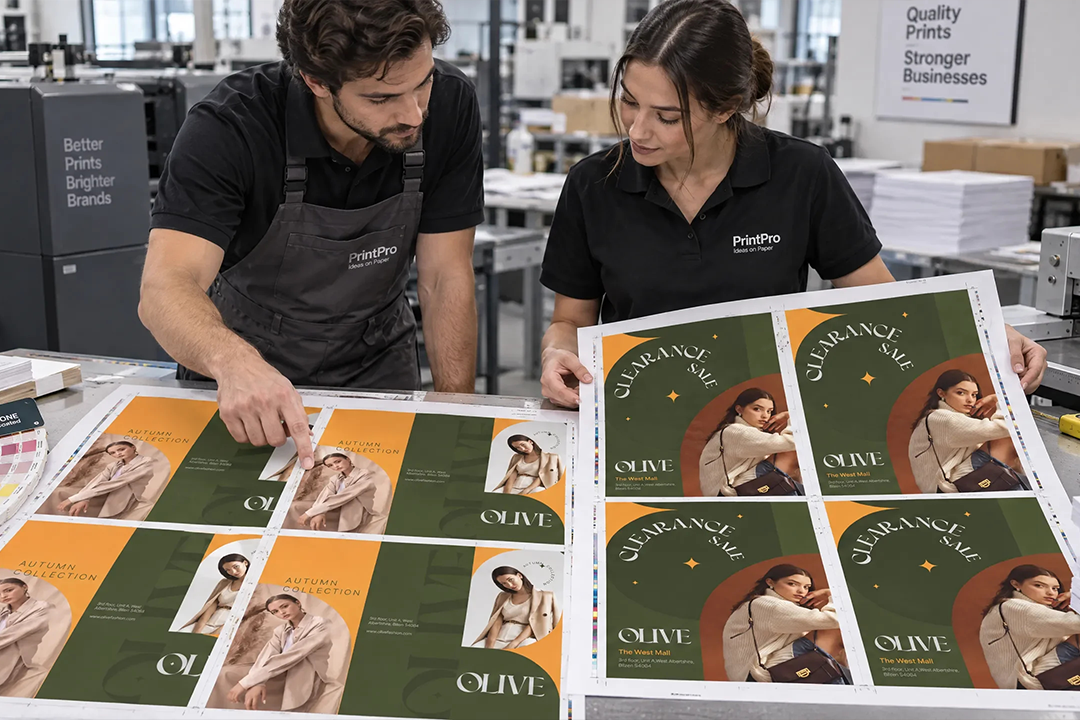
Inspecting printed brochure and flyer press sheets with crop marks
Once your margins and layout are ready, you can start working on the design details that make your brochure or flyer attractive, readable, and consistent with your promotion.
- Text and fonts: Pick fonts that are easy to read, and ensure there is a clear difference between headlines, subheadings, and main text. Keep important text within safe zones and avoid filling sections with too much text. Use bullet points or short phrases to share your main ideas.
- Color: Set your artwork to CMYK when preparing files for commercial printing. Since screens typically display RGB colors, converting them to CMYK gives you a better idea of how your printed colors will look.
- Images: Use high-resolution images, ideally 300 dpi at the size you want printed. Avoid stretching or enlarging images too much and make sure they fit well in your flyer or brochure without crossing the trim lines.
- Branding: Use your logo, brand colors, fonts, images, and style in a consistent way throughout your design. This helps people quickly see that your brochure or flyer is part of your business or campaign.
Before you send your artwork, check which file formats and settings your printer accepts. Common formats are PDF, AI, JPEG, and PSD, but each printer and product may have different requirements.
frequently asked questions
A.
Margin requirements can vary based on your product’s size and your printer’s guidelines. Usually, a 0.125” bleed and trim margin on all sides is standard, but this might change depending on your brochure or flyer. It’s best to use your printer’s design templates.
A.
Computer screens show colors using RGB, but printers use CMYK inks. Make sure to set your artwork to CMYK if needed and check your printer’s color requirements before sending your file.
A.
Most printers offer templates for flyers and brochures. If you want to set up the file yourself, here are some easy steps to follow:
- Create a new document or file with your preferred design tool.
- Set the trim size to the final dimensions of your brochure or flyer.
- Add bleed by extending your document at least 0.125” past each trim edge. You can also put crop marks in the corners to show where to trim.
- Mark the safe zone inside the trim line, and keep all important text, logos, and graphics inside it.
- Make sure backgrounds and images reach the edge of your design and go into the bleed area.
- Before exporting, check your guides to make sure nothing important will be trimmed or is too close to the edge.
A.
Make separate front and back pages with the same size and layout. Check that both sides line up when flipped, and for brochures, make sure each panel is in the right order after folding.
Final Thoughts
Setting up your artwork is a vital step that helps translate your brochures and flyers from screen to paper. Paying attention to margins, layout, and design helps ensure your printed materials look right and avoid problems like cut-off edges, misplaced text, or color errors.
Give folded brochures extra attention to panel order, while keeping print flyers focused and easy to scan. More importantly, always build your file around your printer’s requirements. Once everything is ready, review your artwork carefully and work closely with print partners like UPrinting to turn your design into polished promotional prints.