


- Backlit and non-backlit SEG stand options
- Lightweight graphics & durable SEG frames
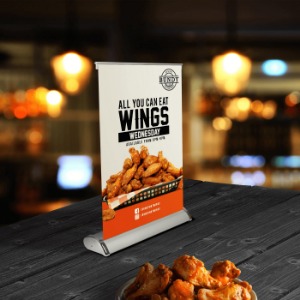
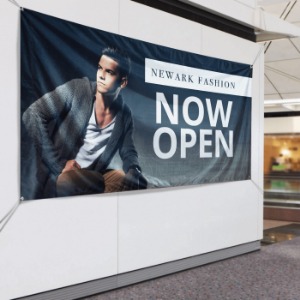
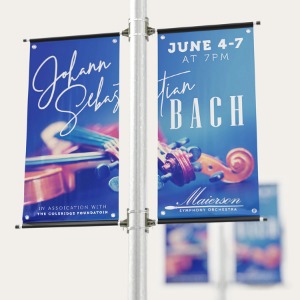
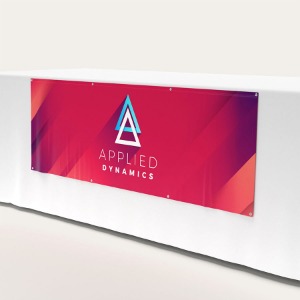
- Used for trade shows, symposiums, and expos
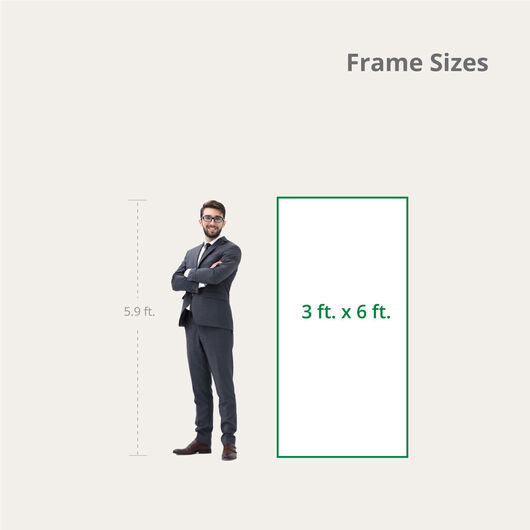
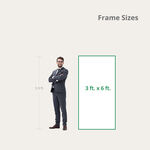
- Available in different sizes
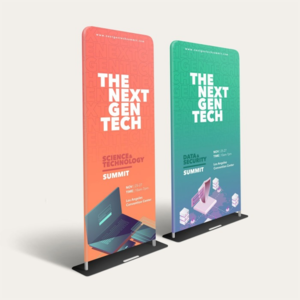
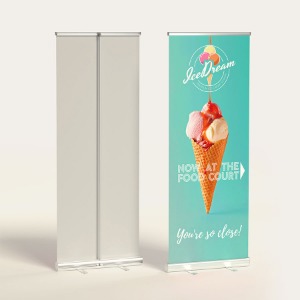
SEG Fabric Stand
Features
- Backlit and non-backlit SEG stand options
- Lightweight graphics & durable SEG frames
- Used for trade shows, symposiums, and expos
- Available in different sizes
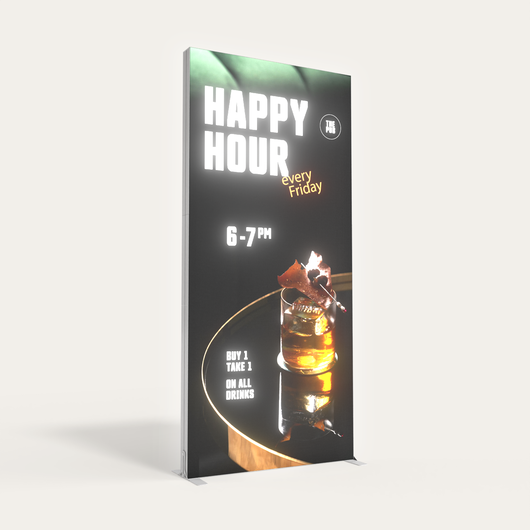
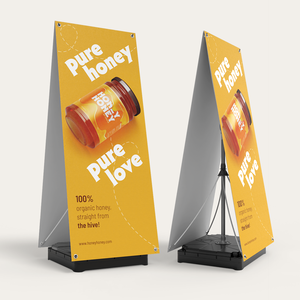
Stylish SEG Stands Turn Promotions Into Art
Promotions at indoor events and trade shows become more illuminating with our Silicone Edge Graphics (SEG) and stand frames. You can print vibrant images and logos on a blockout fabric and then stretch it snugly into the frame, creating a seamless and wrinkle-free appearance. You can also brighten your SEG frames using a backlit stand that grabs attention by illuminating your brand's signage. Lightweight, easy to assemble, and visually stunning, the overall set is a popular choice for groups looking for portable and eye-catching professional stands.
UPrinting offers high-quality SEG fabric printing, ensuring crisp, vibrant colors and sharp details that bring your designs to life. We also offer standard and backlit SEG stands that suit your needs. Whether you're looking for a traditional stand or want to make your graphics pop with backlighting, we have you covered. Print stunning designs that make a statement during indoor meetups with stunning SEG stands that you can set up with ease, leaving a lasting impression.
SEG Stands Installation Guide
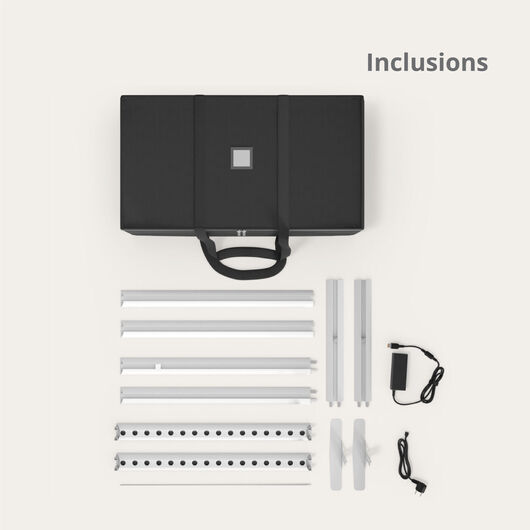
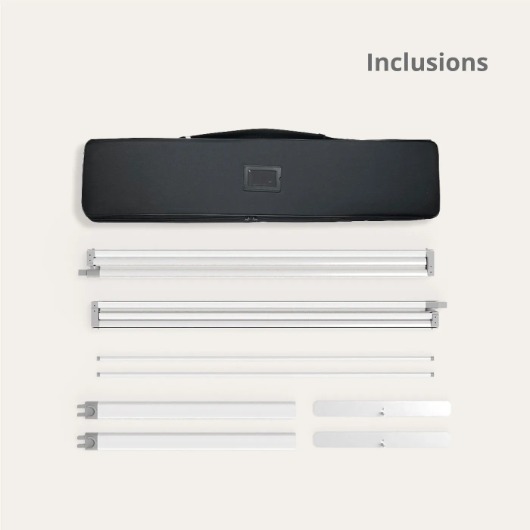
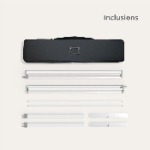
- Carefully unpack all parts, including frame pieces, connectors, LED lighting strips, and fabric graphics. Arrange the parts in your work area for easier access.
- Assemble the frame pieces and secure them as instructed. The backlit stand easily connects with each other without the need of other tools.
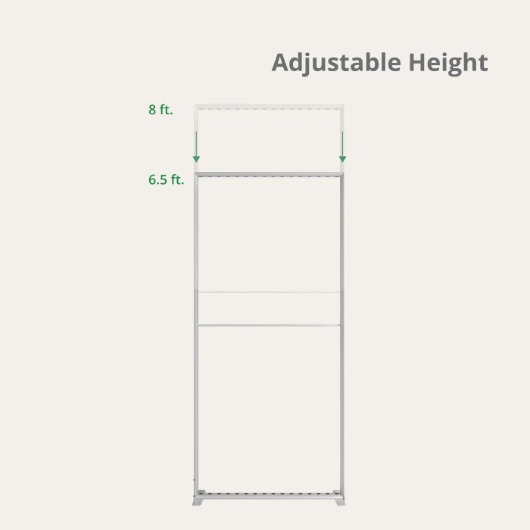
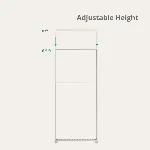
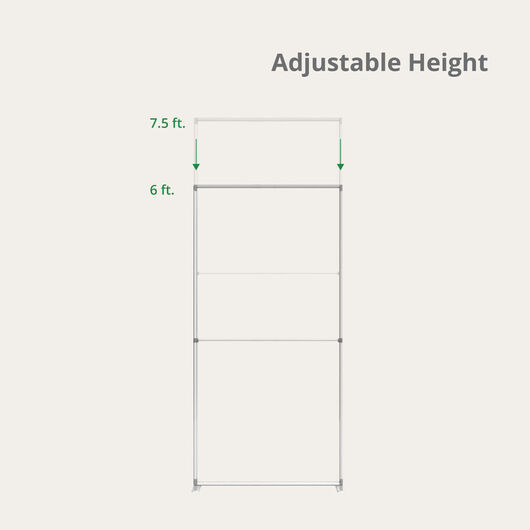
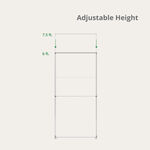
- Adjust the frame’s length and height as needed. The backlit frame is adjustable and can be used for different SEG graphics sizes.
- Insert the silicone edge of the fabric graphic into one corner of the frame, then work your way around the frame. Push the silicone edge into the groove, ensuring the fabric remains smooth and wrinkle-free.
- Attach the frame’s feet and let the graphic stand on its own.
- Plug the power outlet and turn the lights on. Ensure all lights are functioning and evenly illuminate the graphic.
5 ft / 60", Backlit
- Carefully unload the frame parts on your workstation. Check if all the components are complete and in working condition. Arrange the parts for easier access.
- Assemble the frame pieces and the supporting poles by connecting them via their matching labels.
- You can also adjust the size of your frame accordingly by simply replacing the cross insert for the supporting poles.
- Attach the graphic by inserting the silicone edges into the frame's groove. Start from one corner and work your way until the entire graphic is secured.
- Rotate and slide the foot stand so the entire SEG frame can stand independently.
- Plug the power cable and turn on the lights, ensuring the whole frame lights up the graphic.
- Secure the SEG using the stabilizer, so that it doesn’t wobble or fall down easily.
- Carefully unpack your SEG frame and graphics, ensuring you have the complete components. Lay out the frame pieces according to the labels.
- Assemble the frame by expanding the bottom frame.
- Secure the SEG stand by attaching the foot stands on the bottom frame.
- Attach the upper frame to complete the stand and expand it accordingly to the graphic’s size.
- Attach the middle support bar to complete the non-backlit stand. Secure the frame by attaching the foot stands to the bottom of the frame.
- You can also change the height and orientation of the stand by inserting a second middle support bar or simply turning the frame on its side and placing the foot stand at the bottom.
- Take the fabric graphic and insert the silicone edge into one corner of the frame, pressing it into the groove. Then, work around the frame to attach the graphic fully. Make sure the display stays taut and wrinkle-free
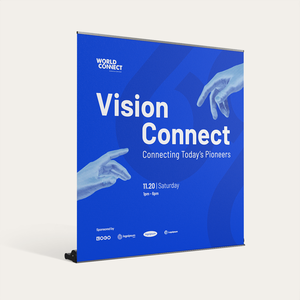
Go for Durable, Lightweight, and Portable SEG Stand
Include the SEG stands in your trade show promotions through UPrinting. We offer custom graphic printing and frame parts that will complete your illuminated indoor signage.
SEG banner + stand options:
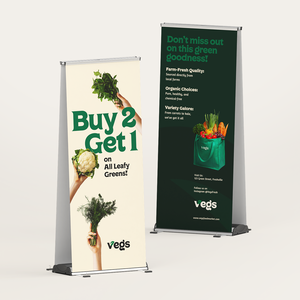
We currently offer backlit and non-backlit variations of the SEG stands. The backlit option comes with LED lighting inside the stands, while the non-backlit stands can support different size options.
SEG stand graphics printing:
We use dye sublimation transfer on a 9 oz. blockout polyester fabric to print your vibrant banners and trade show stands. We also offer one-sided and back-to-back printing on the designs, with sewn silicone edges for easier installation.
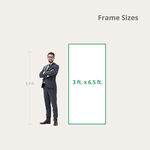
Custom SEG stand sizes:
The lightweight SEG stands can support the following graphics sizes:
For backlit stands:
- 36” x 78"
- 36” x 96"
- 60” x 78"
- 60" x 96"
For standard stands:
- 36” x 72"
- 36” x 90"
- 48” x 90"
- 60” x 90"
We also offer replacement/banner-only orders. The SEG fabric stands measure:
- 36” x 78"
- 36” x 96"
- 36” x 72"
- 36” x 90"
- 48” x 90"
- 60” x 78"
- 60” x 96"
- 60” x 90"
Frequently Asked Questions
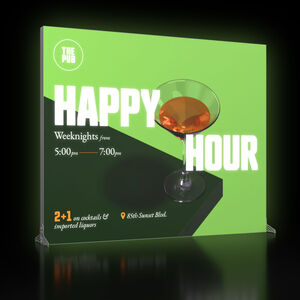
Silicone Edge Graphics, or SEG frames, are sleek and modern stands printed on fabric with a silicone bead sewn on the edges. This makes them easier to stretch and attach to the frame, creating vibrant, high-impact visuals perfect for trade shows, retail spaces, and expos.
SEG stands are generally designed for indoor use due to their lightweight material and fabric graphics. You may still use them in open areas like storefronts and shaded locations, provided you take extra caution when displaying them.
Yes! SEG graphics can be interchanged by simply removing the fabric from the frame. We also offer graphics-only printing so you can reuse your stands and easily update your displays.
You can handwash the SEG fabric gently with mild detergent and cold water. You may also machine wash the graphics on the lowest setting for a deeper clean. Always take note of the care instructions when receiving the SEG stand set.
The printing time for silicone edge fabric is three business days, excluding weekends and holidays. It will be shipped inside a protective carrying case alongside the SEG stand. Please note that turnaround time does not include shipping days.
SEG Stand Templates


About Hard Copy Proofs
UPrinting offers hard copy proofs for clients with color critical art. These color proofs are printed on our highly calibrated EPSON proofing system and are closest representation of the final printed pieces.
Hard Copy proofs are printed using Kodak Proofing Stock, which is different from the actual paper we will use when printing your order. While its main purpose is to show color, variations may occur depending on the finish selected (AQ, Matte, UV) for the final print job. We do not offer hard copy proofs for art that will be printed on uncoated paper.