A dieline template is a 2D blueprint that guides how a custom packaging box is printed, cut, folded, and assembled. Think of it as the architectural plan behind every box you've ever opened: what looks like a simple cardboard container started as a flat, precisely mapped layout long before it took shape.
Every dieline includes specific markings: fold lines, cut lines, bleed margins, and glue areas. Each one serves a purpose. For anyone designing custom packaging, understanding the dieline isn't optional. It's the difference between a box that arrives looking polished and one that ends up on the production floor as a misprint.
This article breaks down the key parts of a dieline and how they apply across different packaging types.
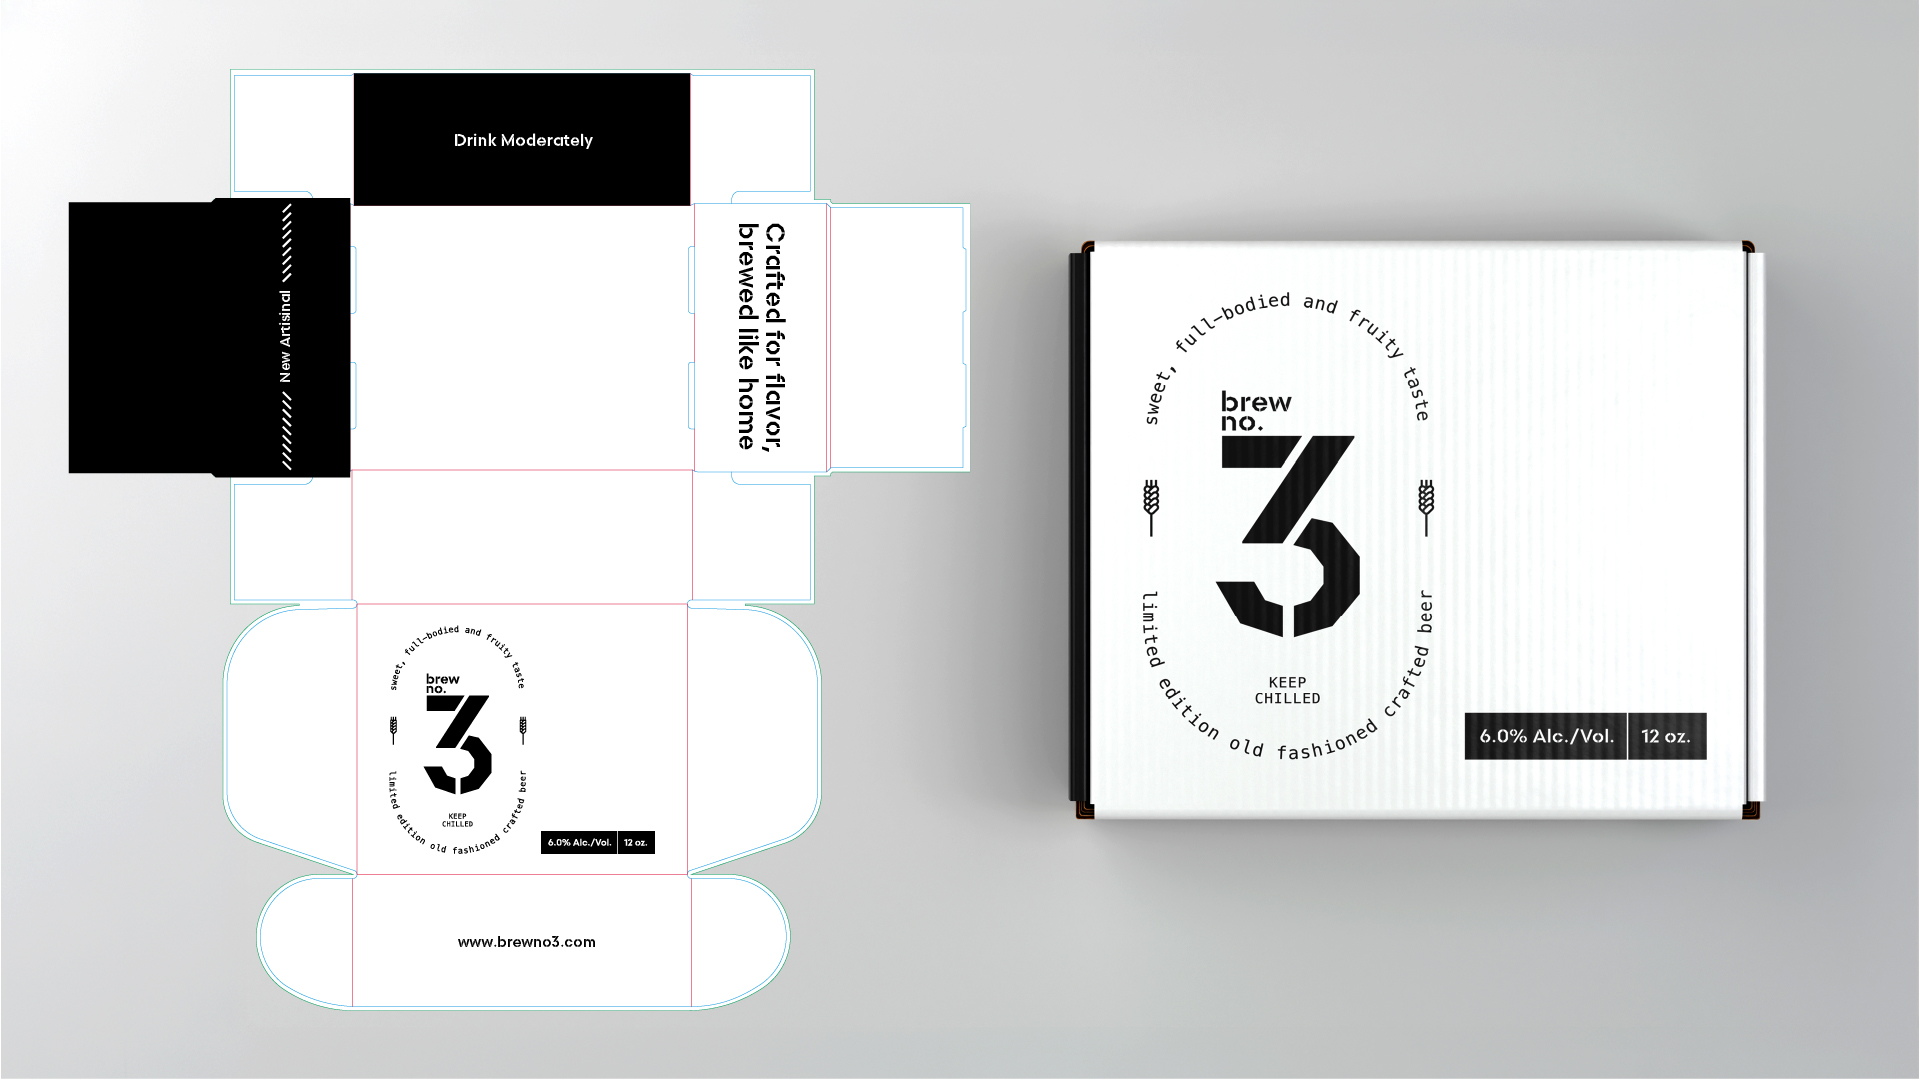
Flat packaging dieline template next to an assembled custom printed mailer box
Is a Dieline Template Essential?
Yes, a dieline template is essential if you want to create custom packaging, especially for bulk printing.
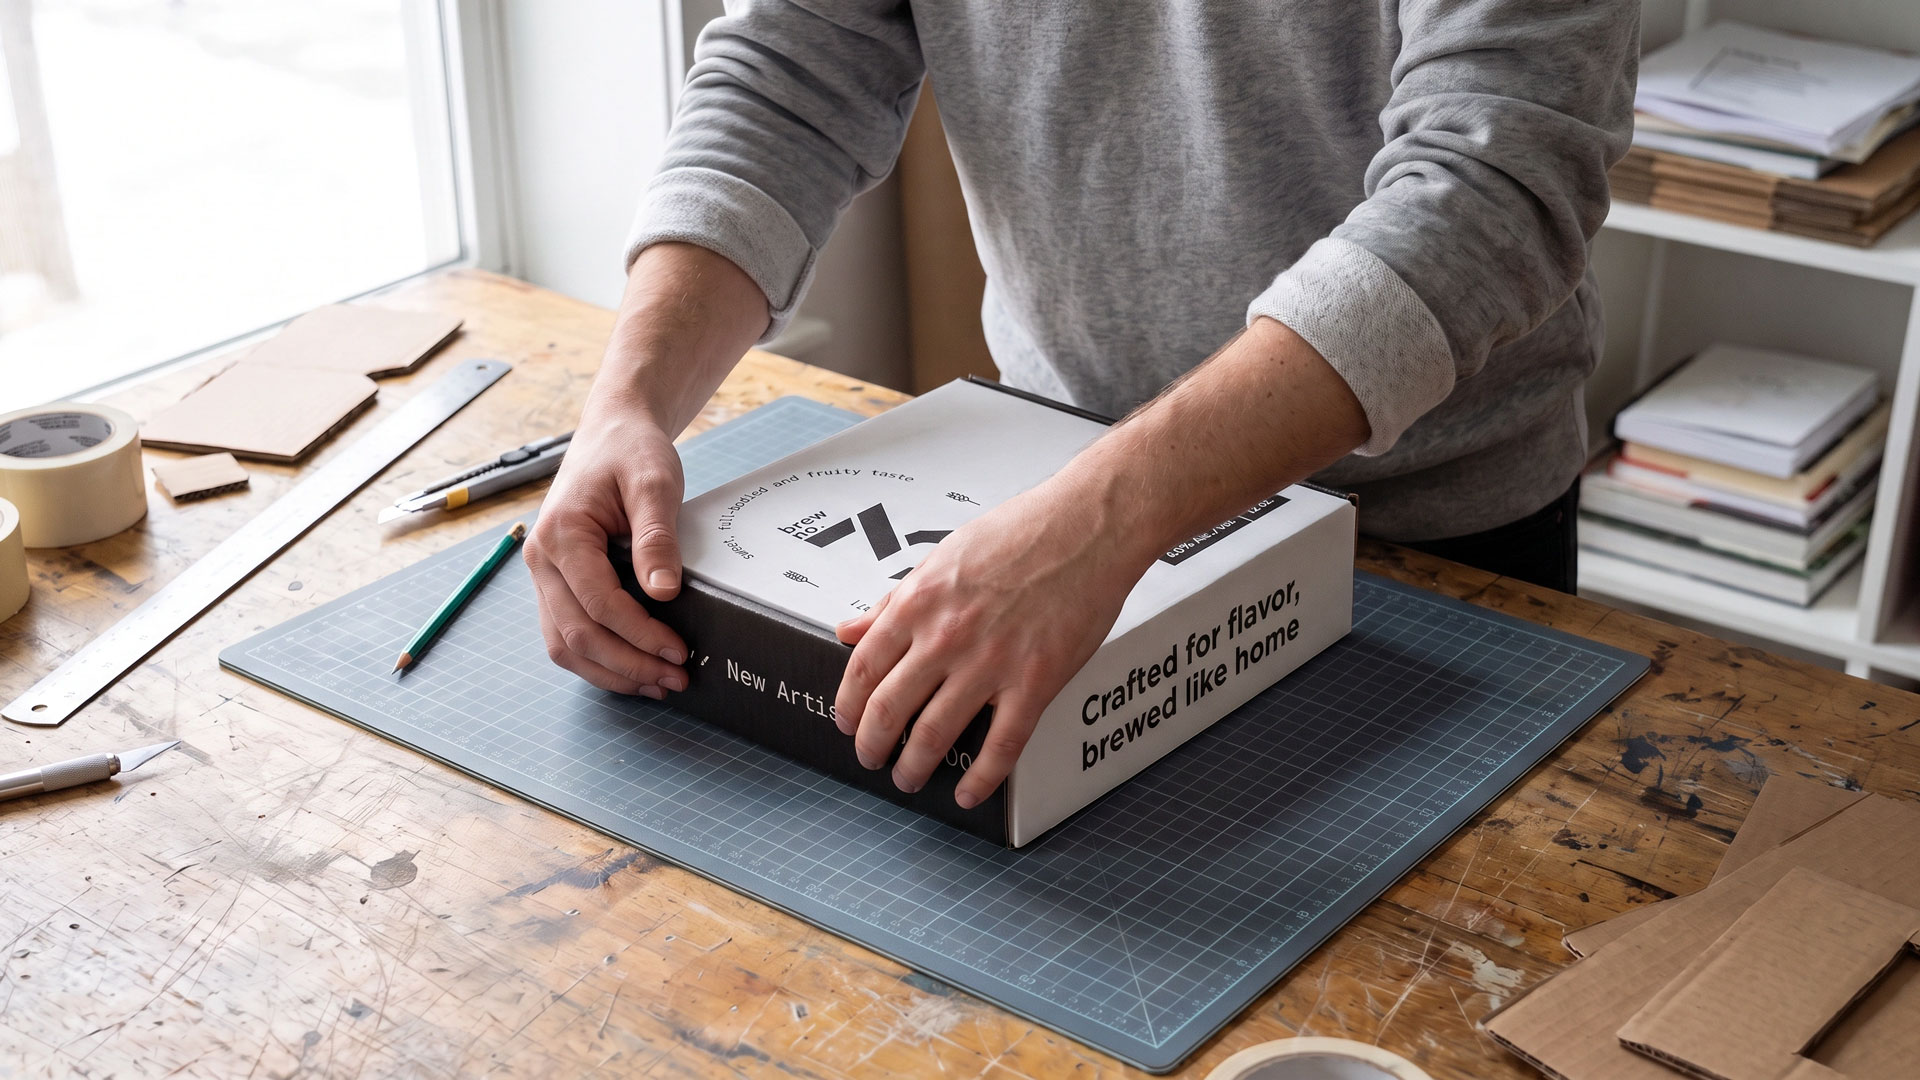
Assembling a custom printed corrugated mailer box on a cutting mat
More than just a guide for visual design, it ensures every measurement is accurate and that the box assembles correctly every time. Here's what that means in practice:
- Accuracy: A dieline template helps reduce printing and production mistakes by giving exact measurements, cut lines, and fold guides that manufacturers can follow every time.
- Customization: It makes sure your graphics, text, logos, and other design elements are in the right place, so important artwork does not get trimmed or end up out of place.
- Better Communication: Dielines give designers, printers, and manufacturers a common reference, which makes it easier to share revisions, notes, and production needs clearly.
- Consistency: For bulk orders, a dieline template makes sure every box is printed, cut, folded, and put together the same way. This leads to consistent quality and efficient production.
The Parts of a Dieline
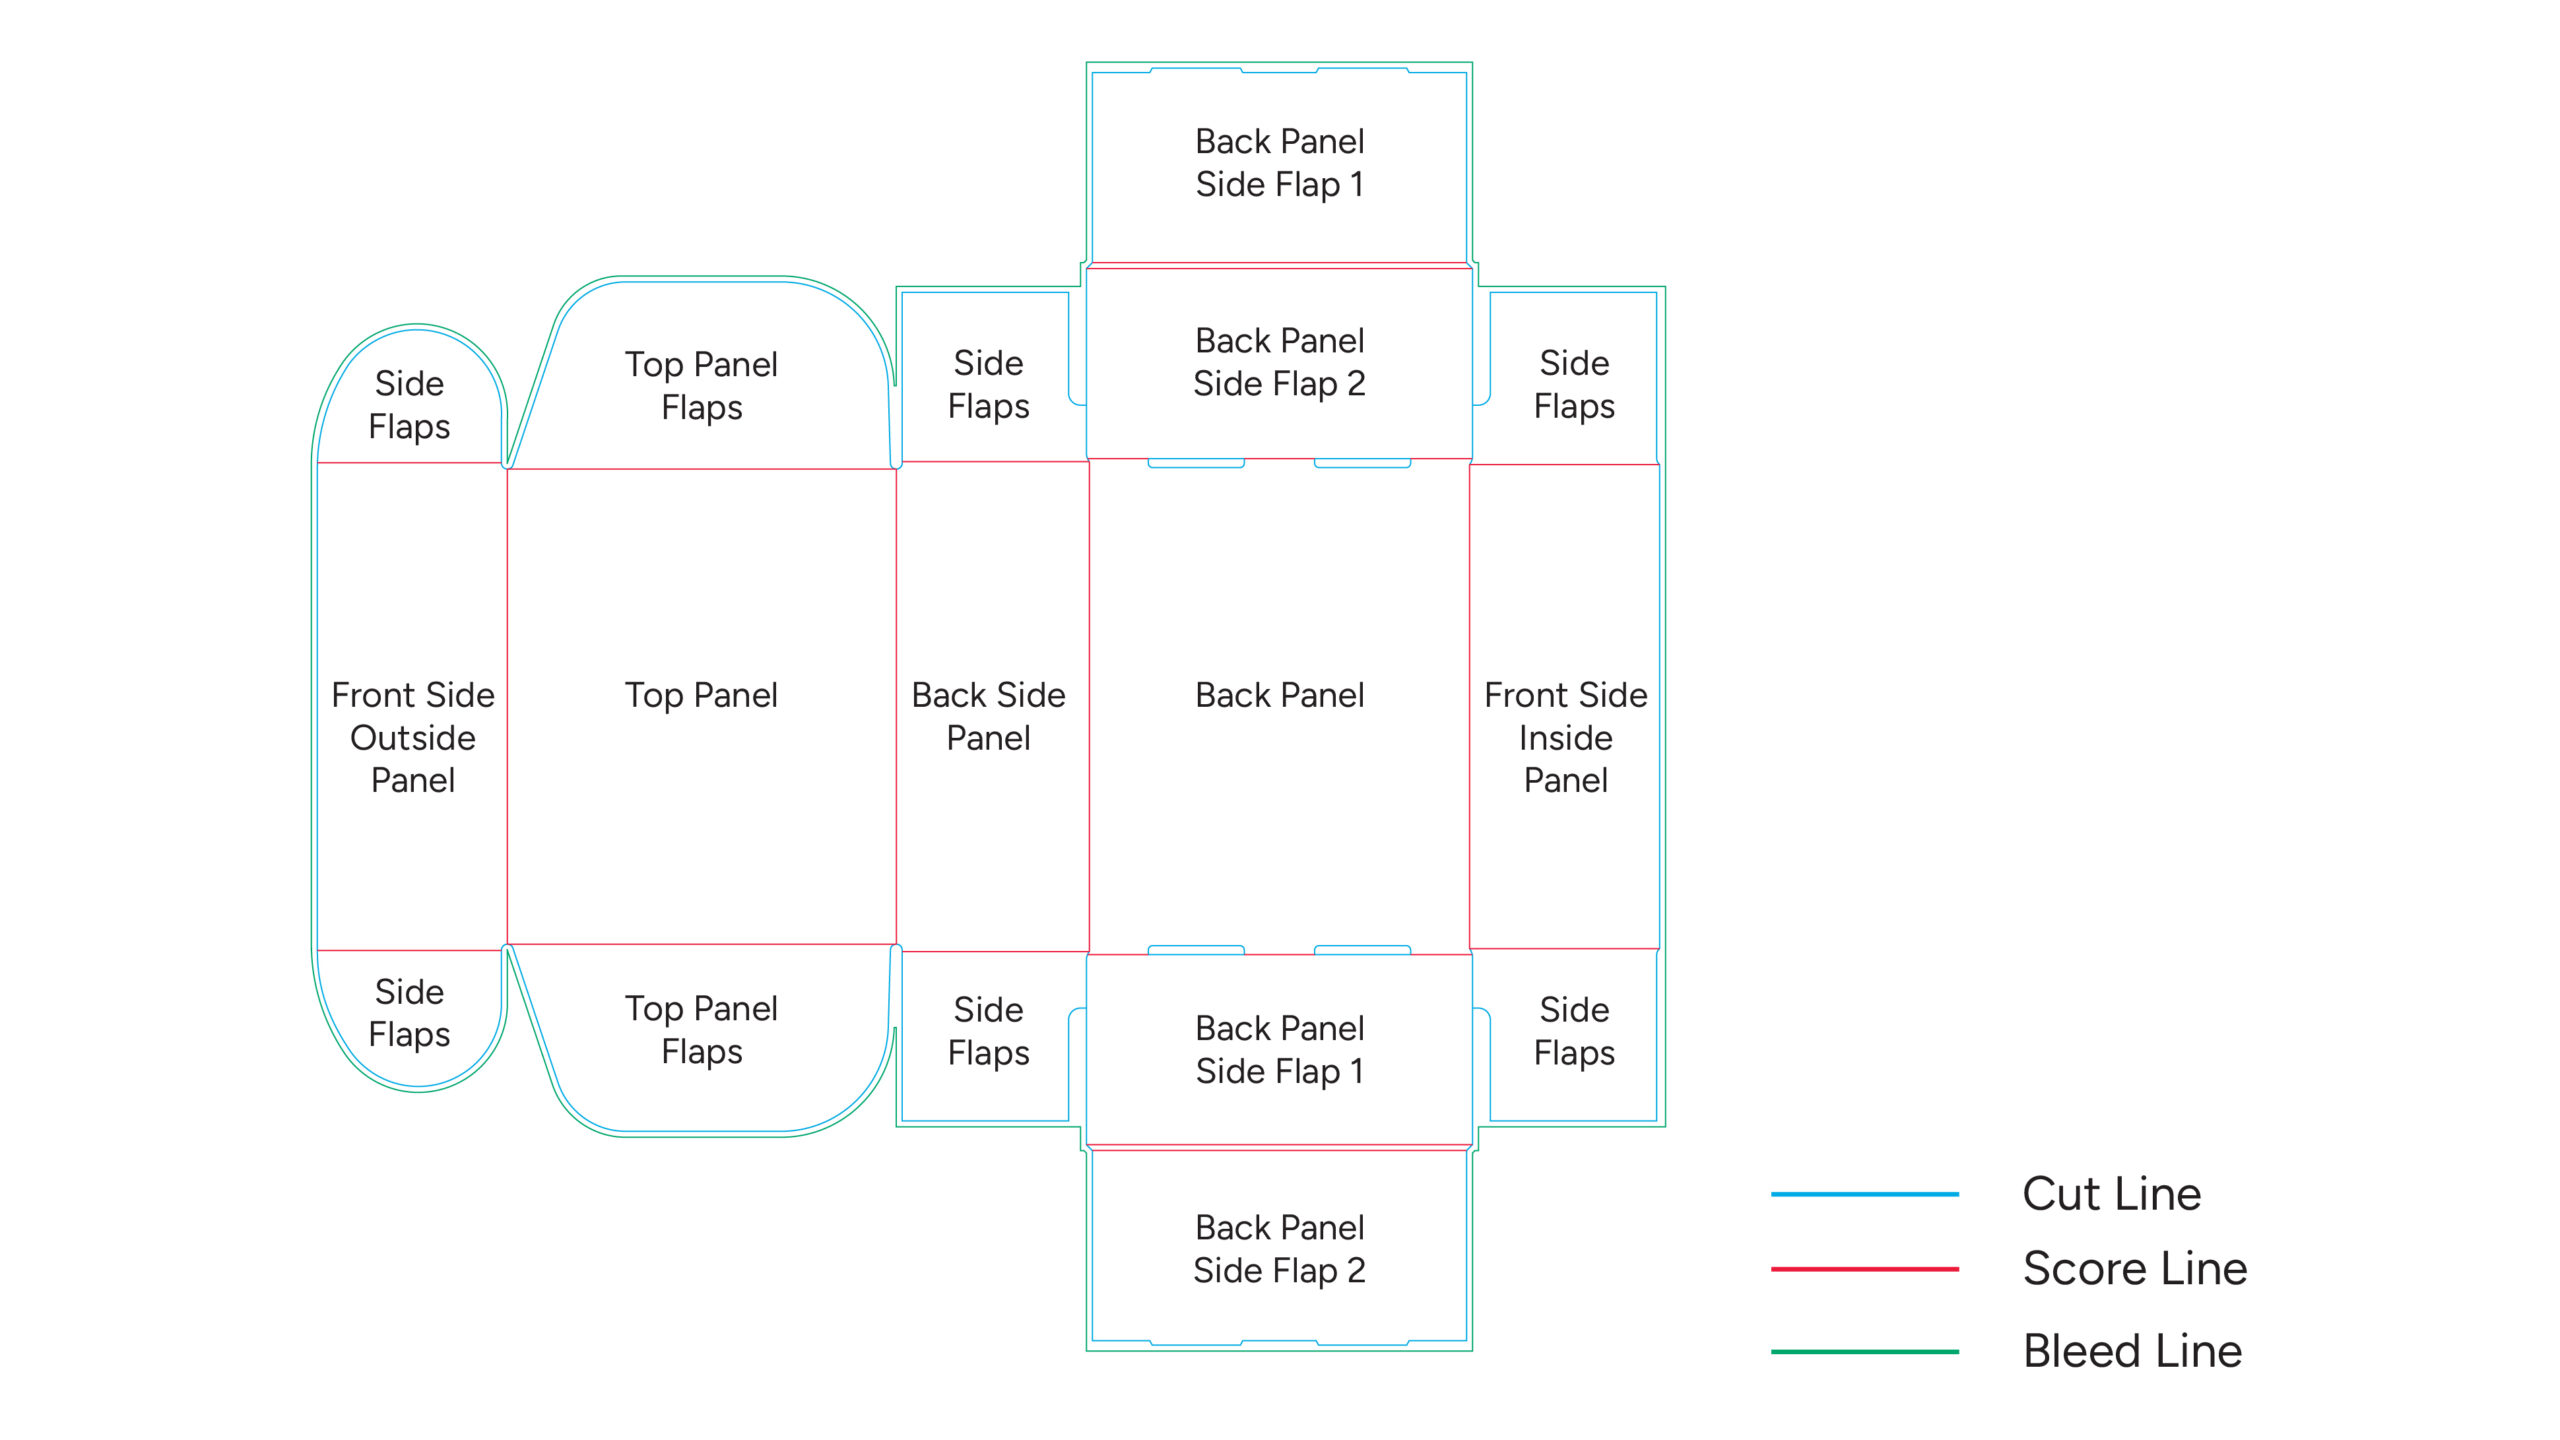
Packaging box dieline template diagram showing labeled panels, cut lines, score lines, and bleed lines
Dieline templates vary in design depending on the packaging style, size, and intended use, but every dieline shares the same core elements. These guide the printing, cutting, folding, and assembly process from start to finish. Understanding them means you can work with any template confidently, whether the box is simple or complex.
Cut Lines
Cut lines show where to trim when the box is printed. They set the final shape of the packaging before folding and assembly.
Bleed Lines
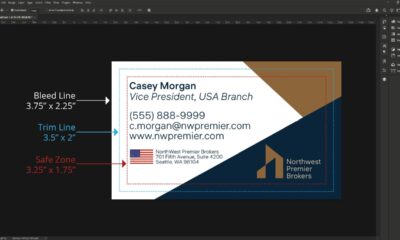
Bleed lines go past the cut lines. They let background colors and images print beyond the edges, which helps avoid white borders after trimming.
Fold Lines
Fold lines show where to score and crease the material. This helps the box fold neatly and take on its intended shape.
Safe Zones (Safety Margins)
Safe zones mark the area where you should keep important text and design elements. This prevents anything from getting cut off during production.
Glue Lines and Perforation Lines
Glue lines show where to put adhesive to hold the box together. Perforation lines, meanwhile, make slots or tear points for boxes that do not need glue to assemble, or are meant to open easily.
Dieline Template Guidelines for Custom Boxes

Working on a mailer box dieline template on dual monitors
Most custom box manufacturers offer ready-made dieline templates that match their available packaging options, so getting started is simple. Still, learning how to use these templates properly helps you avoid design problems, get better print results, and make sure your packaging turns out just as you want. Here are some easy steps to help you get the best results using dieline templates.
Step 1: Choose the Right Box Type
Start with the packaging style that fits your product and brand. Every box type has its own dieline built around a specific structure and use case. The right choice upfront saves time and avoids redesigns later. If you already have a box style in mind, that’s your starting point.
- Mailer boxes work well for e-commerce and create a memorable unboxing experience.
- Product boxes are designed to highlight your brand, look good on shelves, and present your product well.
- Shipping boxes are built for strength and to protect your products during storage and shipping.
Step 2: Select the Correct Size and Dimensions
Once you choose a box style, choose the size that fits your product best. Most printers have standard template sizes, but you can usually ask for custom sizes if your product needs something different.
Step 3: Understand the Dieline Markings
Review the template and get to know its cut lines, fold lines, bleed areas, and safe zones. Most dielines use color codes to help you place your artwork, text, and graphics in the right spots.
Step 4: Design Within the Template
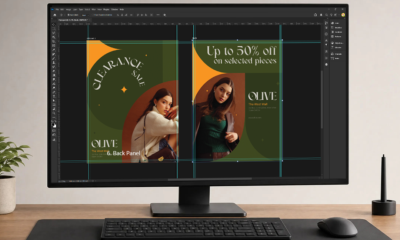
Create your artwork right on the dieline using design software such as Adobe Photoshop or Illustrator. Many print partners also offer online design tools and simple guides to help you get your packaging files ready for print.
Step 5: Request a Proof Before Printing
Always check a digital proof before you approve production. You can also print the proof on paper, cut it out, and fold it to see how the box will look, fit, and feel before you order in bulk.
Frequently Asked Questions About Dieline Templates
A.
Most print providers offer dieline templates in editable vector formats like AI (Adobe Illustrator), PDF, or SVG. These formats usually keep measurements and lines accurate.
A.
Yes, but it requires precise measurements and a solid understanding of box construction. Even small errors can affect how the box cuts, folds, and assembles. If you're new to packaging design, starting with a provided template or requesting a custom dieline from your packaging partner is the safer, faster route.
A.
Not always. Materials like corrugated cardboard, cardstock, and kraft paper all have different thicknesses and fold in different ways. Some dieline templates are made just for certain materials.
A.
If your artwork doesn’t match the dieline, you might end up with cut-off graphics, logos in the wrong place, text that’s hard to read, or panels that don’t line up. Always check your design and the proof from your print partner before you approve the final version. This helps you avoid expensive mistakes.
A.
It depends on your print partner. Some printers want you to keep the dieline on a separate layer, while others ask you to remove it before you send your file. Regardless, most printers will deliver your boxes already trimmed and scored, so you won’t see the margins and just need to fold them to finish.
In Summary
Dieline templates are essential for making custom boxes that look professional and properly represent your brand. Once you know how to use them, designing custom box packaging becomes easier and faster.
If you plan to create custom boxes for packaging, branding, and shipping, working with a trusted printer like UPrinting gives you access to quality dieline templates, expert advice, and reliable printing to help you achieve your packaging goals.