Vinyl stickers serve both practical and decorative purposes, from displaying logos and store hours to adding visual style and maintaining privacy. Aside from being versatile, they are also easy to install, requiring only a few basic tools to ensure they appear smooth and properly aligned.
Spray the glass with a mild cleaner, then wipe it dry with a lint‑free cloth. Make sure you remove all the dust and cleaning product residue to avoid air bubbles or poor adhesion.
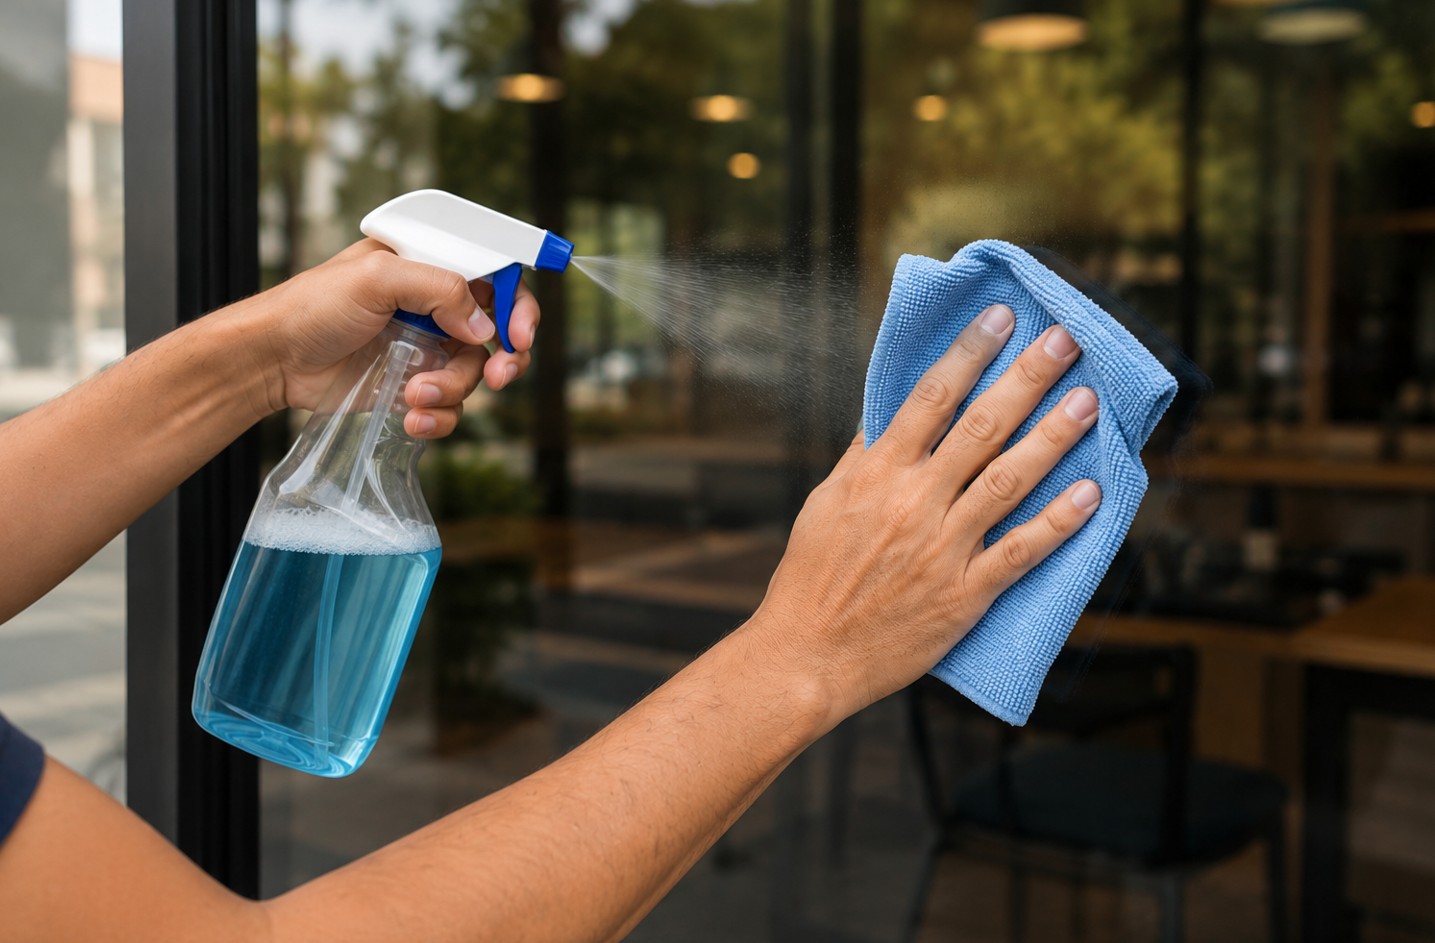
clean the storefront window

position the sticker
Hold the vinyl sticker up to the window without removing the backing paper. Once it is properly aligned and centered, secure its top edge with a strip of masking tape.
Run masking tape vertically or horizontally through the center of the sticker to keep it aligned while you work. This step is especially important for large window decals.

create a temporary hinge using masking tape

peel the backing slowly
Lift one side of the sticker and carefully peel away the backing paper. Stop if the vinyl lifts unevenly, then press it back down and try again.
Use your squeegee to press the vinyl onto the glass using steady pressure (not forceful) to remove air bubbles, working from the center outward.
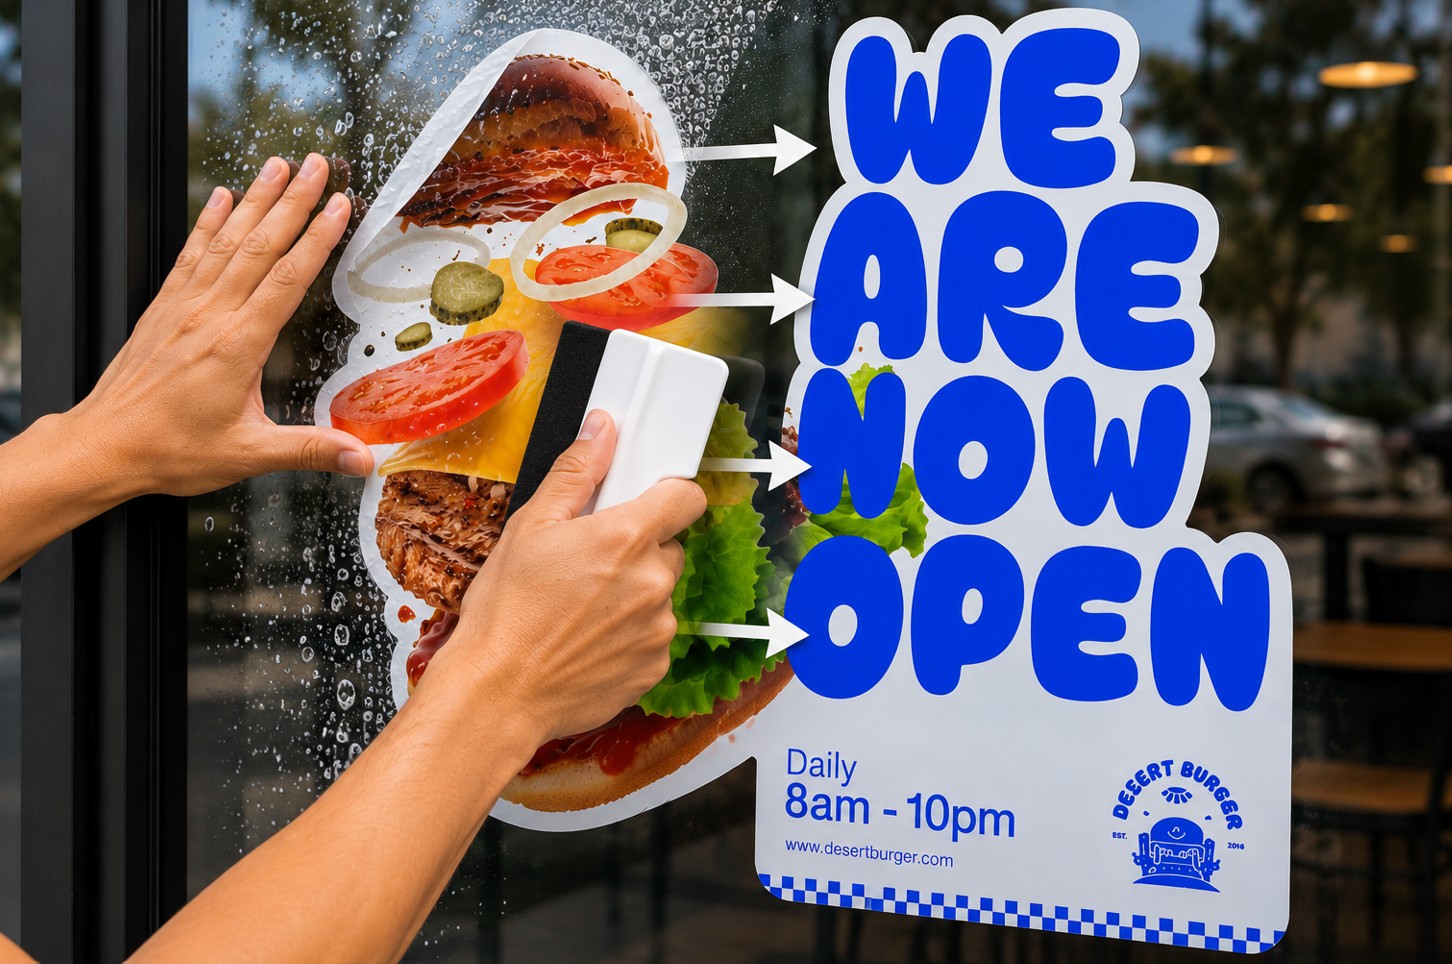
move the squeegee from the center out

remove the transfer tape carefully
Peel the transfer tape (the film over the vinyl design) slowly at a sharp angle, keeping it almost flat against the glass. If any part of the vinyl lifts, stop and press it down with a squeegee before continuing.
1: Not Cleaning Thoroughly
Solution: Clean the surface thoroughly, as even the smallest contaminants cause air bubbles and poor adhesion.
2: Using Forceful, Quick Strokes with Squeegee
Solution: Overlapping, deliberate strokes prevent trapped air bubbles and wrinkles.
3: Peeling Transfer Tape Too Fast
Solution: Pull at a sharp angle and work slowly, pausing every time the vinyl lifts.
Yes. Use a pin or needle to pop a stubborn bubble, then push the air toward the pinhole before smoothing the area with your hand or a squeegee.
Yes, as long as the tint is on the inside of the glass (exterior tint or film may reduce adhesion).
Wait at least 24 hours to allow the adhesive to fully bond.
No. High-quality vinyl stickers don’t cause permanent damage when removed properly.
Installing vinyl stickers on glass windows doesn’t have to be complex. With the right tools and techniques, you can avoid air bubbles and wrinkles and ensure your stickers look polished and professional.