Seeing a carefully placed sticker curl up after a few days is frustrating, especially when you’ve put extra thought into the design. Whether you’re branding products, applying decals to a storefront, or labeling event materials, even a well-designed sticker loses its value if it won’t stay put.
If you want your sticker to be effective and last long, it’s important to ensure it sticks wherever you apply it. The spot test method helps guarantee your surface is suitable, leading to better adhesion and durability. But what exactly is it, and how does one start? Read on as we walk you through each step in this UPrinting guide.
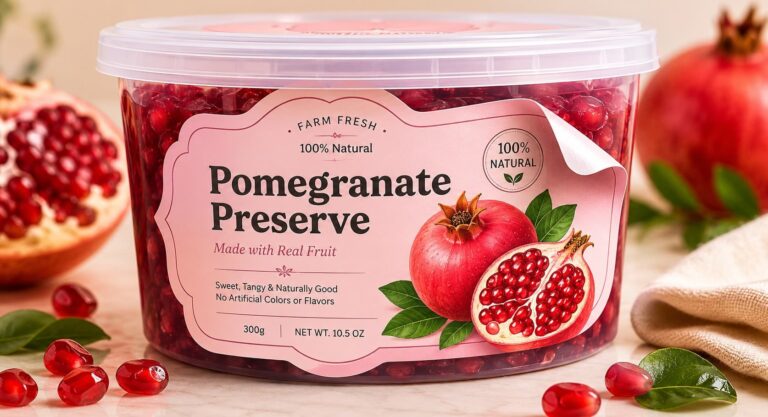
plastic container with a peeling label
The spot test method is a quick, low-risk way to check whether a sticker will stick to a surface before applying it. In this method, a sample sticker is applied to one corner of the surface, pressed down, and left for 24 hours; it is then checked for how well it sticks and how easily it can be removed.
Most sticker issues trace back to one thing: the surface was never tested.
For small businesses, that can mean:
It's tempting to assume a clean, smooth surface means any sticker will stick. Still, surface finishes and materials vary.
For example:
The surfaces look fine at first glance, but adhesives react differently once time, temperature, and pressure are involved. Performing a quick test takes minutes, while fixing a bad application can take hours or require a reprint.
It’s essential to test the surface for stickers if you are working with anything other than plain, unfinished material. Even if you have labeled something similar before, changes in coating, supplier, or finish can affect adhesion.
This is especially important for:
What You Need
A sample sticker made from the same material and finish.
Do not substitute with a different sticker material, since adhesive strength varies by product.
Wipe down a small section of the surface. Remove dust, oil, condensation, or residue from packaging or handling. Let the area dry completely before applying anything.
Press one corner or edge of the sticker onto the surface. Use firm pressure for about 10 to 15 seconds. This gives you enough contact to test adhesion without committing the entire sticker and makes removal easier later.
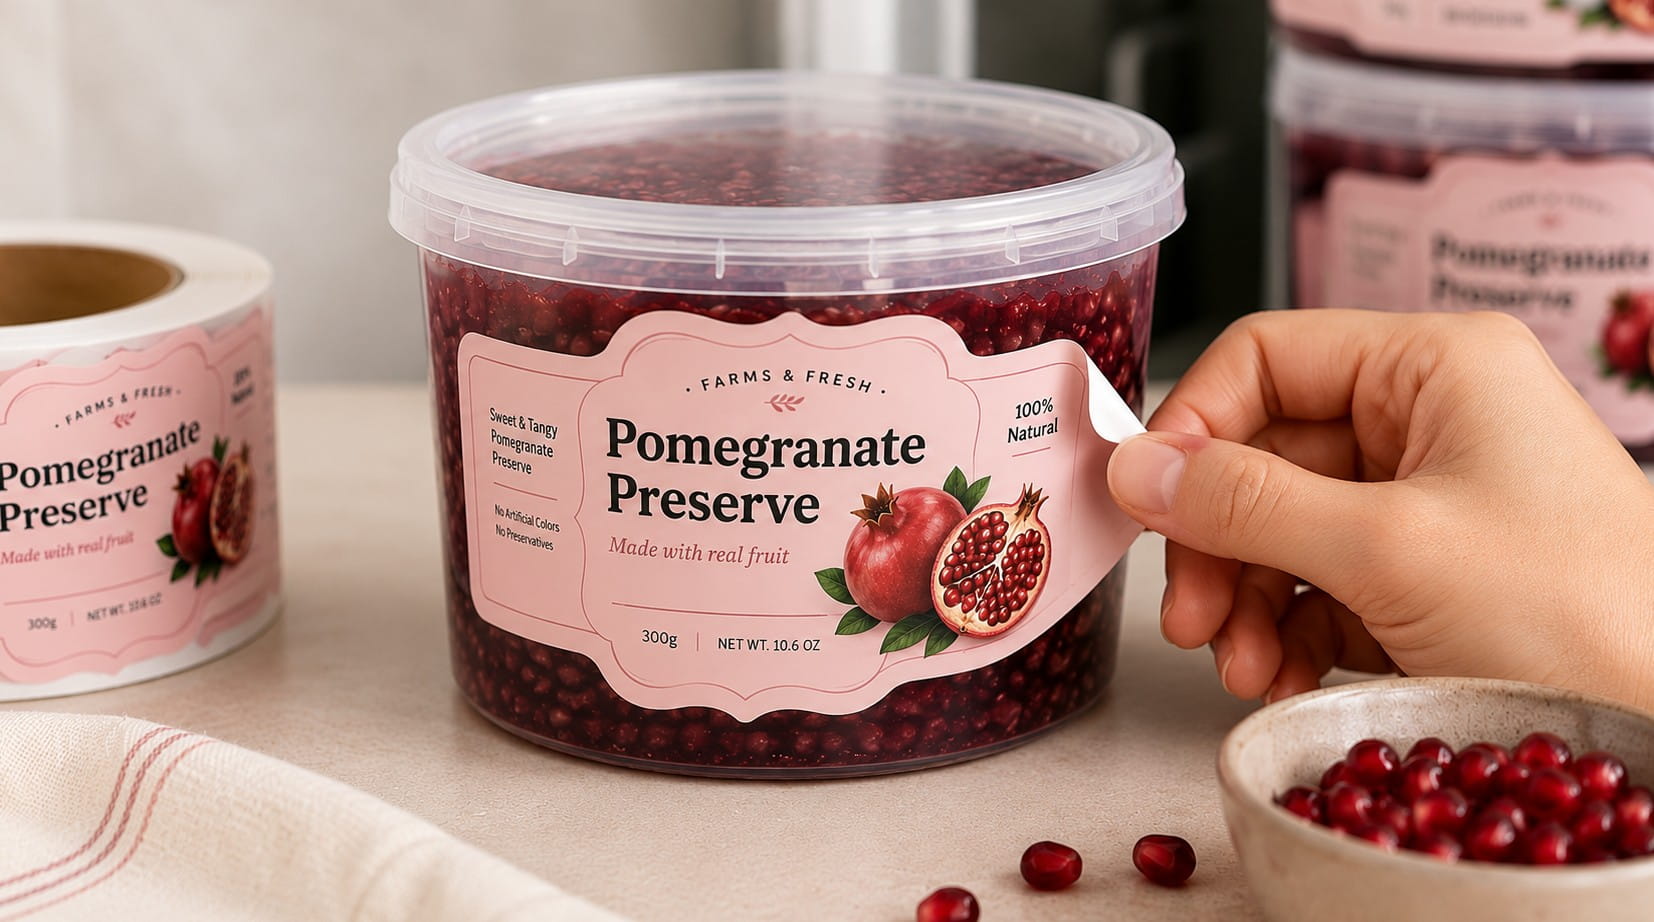
Press one corner or edge of the sticker
Leave the sticker alone in the same conditions where it will be used, whether at room temperature, in refrigeration, in outdoor heat, or in a busy retail environment. Adhesives build strength over time, so checking immediately does not give accurate results.
After 24 hours, check how the edge of the sticker looks. The sticker should lie flat with no curling edges and should not slide or shift with light pressure.
If it stays put and looks clean, the surface is compatible with the sticker.
If your project requires clean removal, slowly peel the sticker back at a low angle. Check whether it comes off smoothly, leaves residue, or pulls up the surface underneath. This step is especially important for temporary promotions, rentals, and reusable containers.
Follow these tips to improve your results and avoid surprises later:
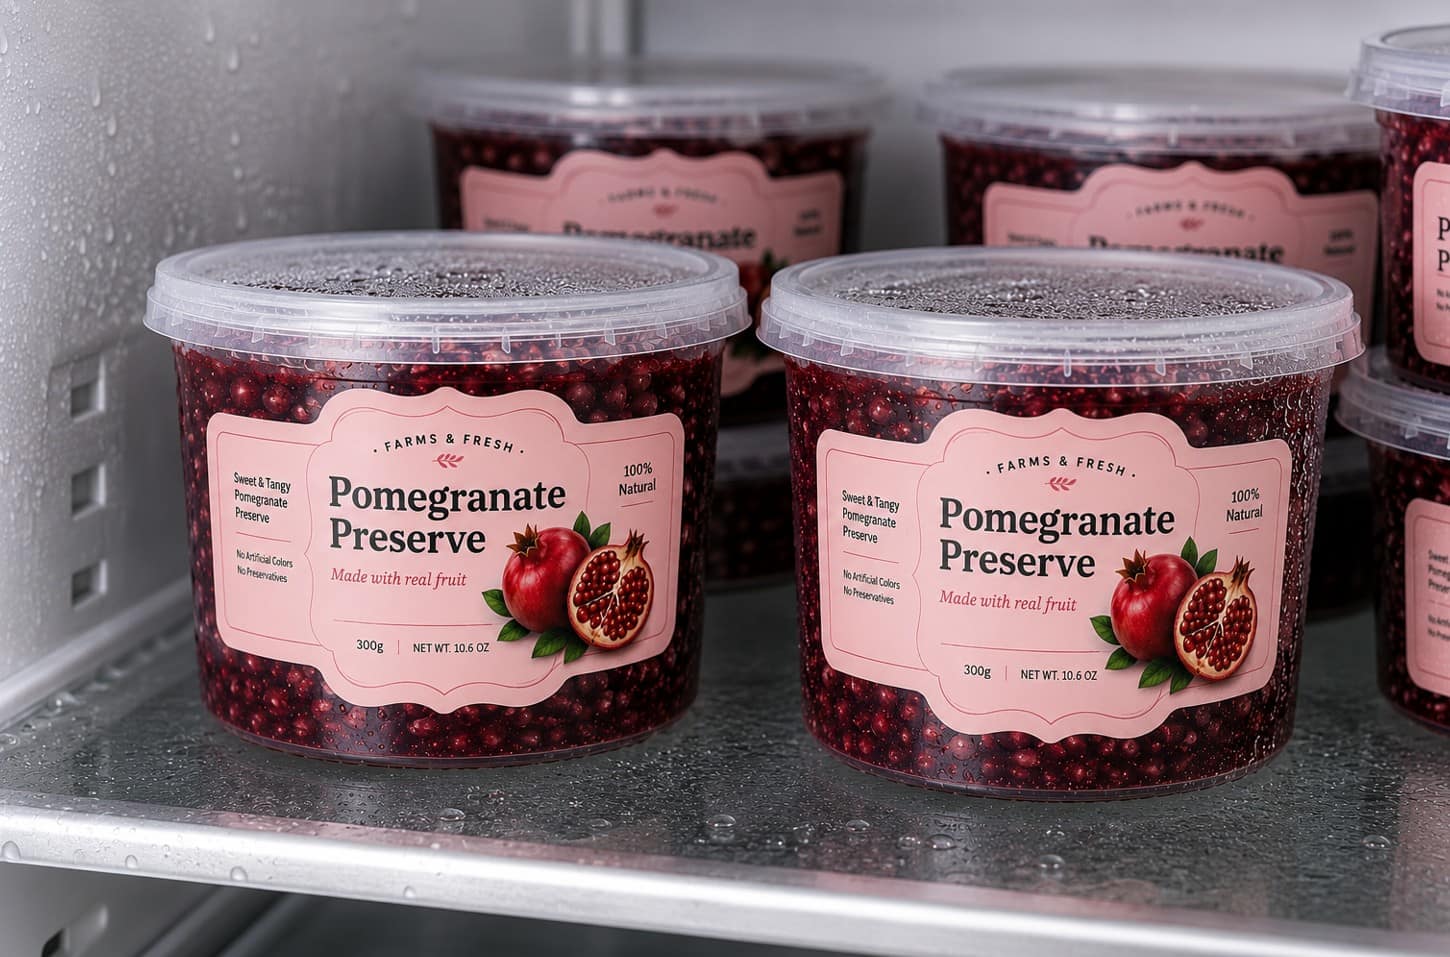
refrigerated containers with food labels
Avoid these mistakes to prevent any sticker fails and reprints:
Skipping the test altogether.
This is the most common problem and the easiest to prevent. Remember to always test, especially when using new packaging, suppliers, or surfaces.
Not waiting long enough.
Short tests can give false results. Waiting for a full 24 hours gives you a realistic picture of adhesion, as it needs time to develop strength.
Peeling too aggressively during removal.
Peeling quickly can damage surfaces and does not reflect normal use. Always remove slowly at a low angle.
The total test takes about 24 hours, but the hands‑on work takes only a few minutes.
No, you only need to test when the surface, finish, or supplier changes. The same surface types usually do not require frequent testing.
Many plastics have low surface energy, which makes it harder for standard adhesives to stick without testing or choosing the right material.
No. Once removed, the adhesive changes. Test stickers are for single use only.
Testing the surface before applying stickers protects your products and your brand and helps avoid costly errors. Using the spot test method is fast, low risk, and reveals adhesion problems early, before you invest in a full run.
Once you know your surface is compatible with your sticker, you can feel confident that your stickers will stay put, last long, and come off cleanly when needed.