How to Customize Your Box in 3D
Product packaging is the first interaction your business has with any customer. Whether they’re considering your items in-store, viewing photos on your website, or receiving the products at their doorstep, the details will build their first impression of your brand. See your brand come to life from start to finish in an online 3D design tool. Load it directly on your browser after inputting your design specs. Find out how you can get started in this step-by-step guide.
A Step by Step Guide to Designing Your Custom Boxes
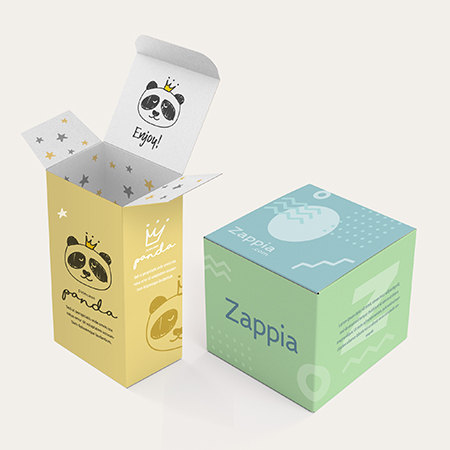
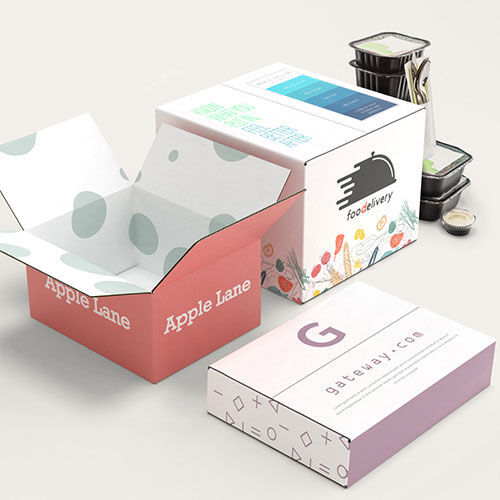
Step 1: Choose the box type that fits your needs.
|
|
|
|

Step 2: Indicate the specs on the product calculator.
Each box product page loads an online calculator that lists the options for each feature.
- Combine interior dimensions for the custom box’s length, width, and depth.
- Select a durable material that will represent your design and withstand its exposure to external elements.
- Indicate if you are printing on the outside, inside, both sides, or ordering a blank box with no printing.
- Choose a quantity that fits your budget and delivery requirements. You can start with one (1) sample box to see if our printing will implement your vision.
- Keep the standard production time or request for expedited production.
After completing the specifications, select “Design Your Box Online.”
Step 3: Create a 3D custom box design online.
The online design tool is composed of the following parts:
- Top toolbar that lets you add specific elements, upload files and combine colors.
- Left toolbar for editing the design element you have selected.
- Outside Design canvas where you can create the box’s exterior design. It shows the decline or flat layout of the box separated into its different sections.
- The 3D preview updates according to the added visual elements and shows the box’s likely appearance once printed. You can select a section to see how it looks up close after adding to the design or a specific area.
Parts of the 3D Online Design Tool
Check out the video below to see what each toolbar has to offer:
Image reference for video- labelling sections/toolbar (from NDF):
Copy for video*/placeholder text while we wait for video?:
Use the left toolbar to add the following elements:
- Text to place directly on each box section.
- Upload your company logo or images and position it on the design.
- Set the background color for the exterior of the box. You can select from a swatch or choose a custom shade.
- Edit the box specifications if you need to change one or more features.
The top toolbar lets you edit specific elements that you have selected on the canvas:
- Center the text or image horizontally or vertically.
- Bring the element to the front or back.
- Rotate the object 90o.
- Copy an image, text, or graphic and place it in another section.
- Delete the selected element.
The main design area or canvas is divided into the outside and inside design sections:
- Select the area you want to view on the canvas and it will refresh on the 3D section.
- To design the interior, scroll down on the canvas and select “Add inside printing.”
If you need to pause and go back to your design later, click on “Save Project” at the top right corner.
You can proceed with the order after selecting “Add to Cart.” This button will preview the price and load a pop-up window where you choose your preferred proofing option. Your choice will depend on how soon you need the box design printed:
Custom Box Design FAQs
Can I order one sample of the custom box design?
Yes, you can print one (1) custom box based on your submitted design and specifications. Printing one box is fast—just 3-5 business days.
Note that cardstock product box samples will have a lower print resolution compared to bulk orders. Corrugated cardboard sample box orders for product, shipping, or mailer boxes will be printed in the indicated coating and submitted resolution.
Can I submit a design directly on your website?
No, we recommend using the online design tool to complete the artwork you have in mind. However, if you have a print-ready design on hand, you can request a dieline template based on the chosen specifications. A PDF file of the flat box exterior will be sent. This shows all the correct areas for placing each section of your box design.
Can I add other customizable features or special printing options that aren’t included on the online calculator?
Yes, you can include special printing options such as foil stamping, soft-touch, spot UV, or custom inserts to your order. Email UPrinting’s packaging specialists to find out and coordinate the details you need.
Can I review a free proof of the design before it’s printed?
Yes, you can review a free PDF proof before it is sent to print. After selecting “Add to Cart” on the online design tool, choose “Send me a PDF proof for approval” on the pop-up menu.
What is the fastest production time available for the box order?
We can expedite printing products, shipping. and mailer boxes to 6-8 business days.
Have other questions? Check out the Custom Box FAQs page for more information. You can also contact our customer service if you prefer to hear the clarifications over the phone or via Live Chat.
