Setting up a step and repeat banner shouldn’t feel intimidating.
In fact, assembling a step and repeat banner is quick, tool-free, and beginner-friendly. Most customers have it fully set up in 5–10 minutes, even on their first try.
This guide walks you through the process step by step, so your backdrop looks straight, professional, and photo-ready before guests arrive.
Once you’ve received your step and repeat banner kit from UPrinting, the very first thing you need to do is to take a moment to lay everything out.
Your step and repeat banner kit should include:
- A collapsible banner stand (base + vertical poles)
- Your printed banner graphic (fabric or vinyl)
- A carrying case for storage and transport
- Optional top and bottom crossbars, depending on the stand type
- Optional LED lights.
No tools required—that's the best part. Our banners are designed to fit together easily and stand on their own.
Step 1: Set Up the Base First
- Start your setup with the foundation.
- Find your banner’s base and place it on a flat, even, and stable surface where the banner will be displayed.
- If your stand has fold-out feet or stabilizers, extend them fully.
Why this matters:
A solid base keeps your banner from wobbling, especially in high-traffic event spaces.
Step 2: Assemble and Extend the Poles
The next step is to build the frame.
- Connect the pole sections together. These often come with numbered markings, so you know which section connects with each other.
- Most step and repeat stands use telescoping poles, making height adjustments easy.
- Extend them evenly to match the height of your banner.
- Insert the poles securely into the base.
Helpful tip:
Ensure both sides are extended to the same height to keep the banner level.
Step 3: Attach the Banner Graphic
One the frame is assembled, it’s time to add the graphic. Attaching the vinyl banner varies depending on your finish.
If your banner uses grommets:
- Align the grommets with the frame’s hooks.
- Secure the banner by attaching the top corners first.
- Attach the bottom edge last.
If your banner uses pole pockets:
- Slide the banner pole into the pole pockets until both ends are visible.
- Attach the pole’s ends to the frame and secure them properly.
Helpful tip:
Always work from top to bottom. This helps prevent sagging and keeps your logos centered.
Step 4: Adjust for a Clean, Professional Look
Once you’ve attached the banner is attached:
- Gently pull the banner from the sides so it’s taut.
- Adjust the pole height if needed.
- Smooth out wrinkles by tightening the material evenly.
Step 5: Do a Final Visual Check
You are basically done! The final step for your banner is to step back and check for the following before the event starts:
- Are all logos fully visible?
- Is the banner centered?
- Does the stand feel stable?
- Does it look good from camera height?
If it looks good in photos, it is ready for guests.
Some Quick FAQs for Step and Repeat Banner Installation
A.
Most setups take 5–10 minutes.
A.
Yes. Larger banners may be easier with two people, but solo setup is possible.
A.
No tools are required; everything is included.
A.
Yes. Step and repeat banners are designed for repeat use across multiple events.
What are the Common Mistakes We Should Avoid?
Setting up a step and repeat banner is simple. Still, here are a few things to watch out for:
- Extending one pole higher than the other
- Attaching the banner’s grommets haphazardly
- Overtightening the banner graphics
- Setting up on uneven floors without stabilizing the base
Taking an extra minute to adjust makes a big difference in how professional your display looks.
A Simple Setup That Makes a Big Impression
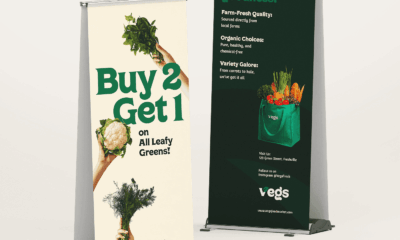
A step and repeat banner is one of the easiest ways to elevate your event space, whether it’s a trade show, grand opening, red carpet, or photo backdrop.
With a quick setup and professional finish, you can focus less on logistics and more on making your brand stand out. You can also check out our article on how to disassemble and pack up your banners so you can maximize more of your time.
And if you want to add elegant step and repeat banners, UPrinting offers the high-quality banner printing on the proper materials that work great for photoshoots and add ambiance to your events.