
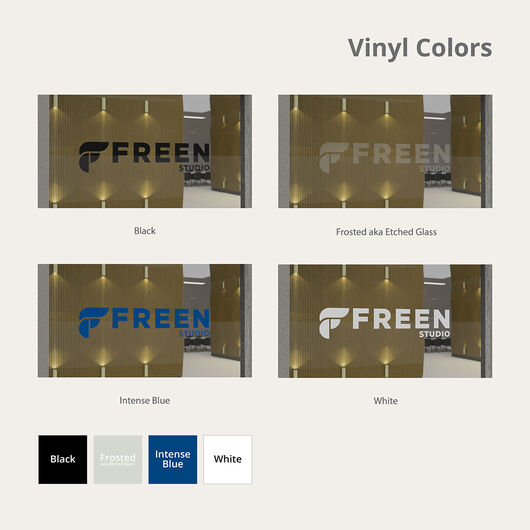
.png)

.png)

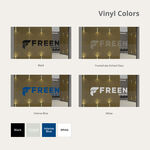
- Durable 2 mil adhesive vinyl
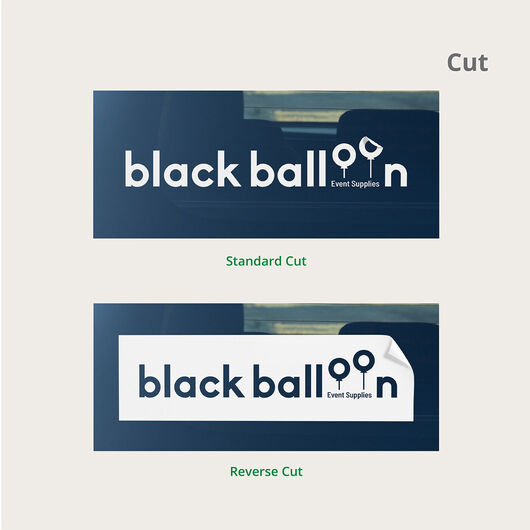
- Standard and reverse cut option
- Choose front or back adhesive
- Can last up to 8 years
Car and Truck Lettering
Features
- Durable 2 mil adhesive vinyl
- Standard and reverse cut option
- Choose front or back adhesive
- Can last up to 8 years
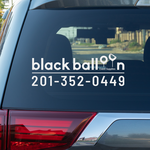
Rev up your brand recognition on the road with car and truck lettering.
Add unmistakable branding to your business’ vehicles with car and truck lettering. These graphics are made of durable 2 mil adhesive vinyl, a material known for its strong adhesion, durability, and UV resistance. Vehicle lettering sticks to flat metal surfaces as well as on glass and windows without leaving any residue or permanent damage. These are usually used on cars, trucks, commercial vehicles, motorcycles, RVs, and tractors to name a few.
Car and truck lettering is available in standard cut or reverse cut. The standard option cuts the vinyl into the exact shape of your design. Reverse cut, on the other hand, gives you a solid colored block with the design cut out. You can also choose whether to place the adhesive in front of the graphic or at the back.
How to Install Vehicle Lettering
1. Clean and dry the surface where the lettering will be installed.

2. After measuring and marking your intended installation location if necessary, apply a horizontal strip of masking or painters tape to the top of the graphic with the top half of the tape on the intended surface, creating a hinge.

3. Hold the bottom edge of the hinged graphic away from the intended surface and remove the back liner (which is different from the transfer tape), revealing the sticky backing of your lettering or graphic. Be careful not to allow the exposed adhesive to touch the surface.

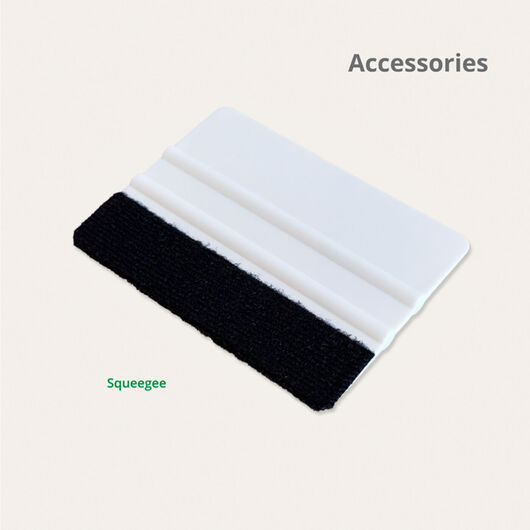
4. Using a squeegee*, apply pressure to the front or pre masked side of your lettering, placing the graphic onto the intended surface. Squeegee from left to right from the top down. If creases or bubbles develop, carefully lift the graphic and re-squeegee it. *Available for purchase with vinyl lettering.

5. Once in place without creases or bubbles, squeegee the entire lettering or graphic to ensure the adhesive is firmly attached to the surface.

6. Gently remove the pre-mask transfer tape, starting at a top corner. If any vinyl begins to come off the wall, use your squeegee to firmly adhere it back to the wall and continue peeling away the premask.

7. Laying the liner over the graphic with the shiny side facing you, apply hard pressure with the squeegee, removing any stubborn air bubbles.

Download or Print Vinyl Lettering Installation Instructions PDF.
About Hard Copy Proofs
UPrinting offers hard copy proofs for clients with color critical art. These color proofs are printed on our highly calibrated EPSON proofing system and are closest representation of the final printed pieces.
Hard Copy proofs are printed using Kodak Proofing Stock, which is different from the actual paper we will use when printing your order. While its main purpose is to show color, variations may occur depending on the finish selected (AQ, Matte, UV) for the final print job. We do not offer hard copy proofs for art that will be printed on uncoated paper.